

 Live Chat
Table of Content
- 1.) Protecting Your Server Using a Secure Connection
- 2.) Use Private Networks and VPNs to Protect Web servers
- 3.) Make Stringent Password Rules
- 4.) Set Password Expiration Policy
- 5.) Set Up and Maintain a Firewall
- 6.) User private servers and services
- 7.) Remove or Turn Off All Unnecessary Services
- 8.) Manage Users
Cyber attackers are always on the lookout for vulnerabilities to exploit on a server. As server administrator, it is your responsibility to ensure you have closed all possible loopholes and your data is safe.
You need to minimize risks and have confidence that your data is secure by implementing correct measures, tips and practices that you deem “essential”.
So, here we are, with 8 essential tips that can help you safeguard data present on your web server. We have tried to keep our tips as grounded and essential as possible. Once you have read and implemented everything mentioned in this article, we’d be back with another blog but with more advanced tips.
1.) Protecting Your Server Using a Secure Connection
Are you using an open network to connect to the remote server? You should not.
When trying to connect to a remote server, you should have a secure connection at the place because data packets can deviate elsewhere. This could jeopardize your privacy and security.
Using the Secure Shell Protocol (SSH) will help you establish a secure and protected connection and unlike the older Telnet, SSH will encrypt all the data in the exchange.
If you are wondering what we mean by encryption, here is something worth your while –
Imagine you send “hello” to your friend ‘Alex’. Now, consider your messenger is not configured with a secure connection. The server then converts your message into its binary equivalent and sends them straight to the receiver’s inbox.
If somehow someone had exploited the connection, he would have easily read your message. Now, you’d be wondering what damage could a simple “hello” have made if read by someone other than the receiver. True! But you don’t always send “hello”. We live in an online world and you aren’t probably sending just random “hi” and “hello”. What if it was your bank password instead?

Thus, encryption is essential. Encryption simply means converting the given data into a set of random characters using an algorithm to make it unreadable and undecipherable for hackers to read.
Thus, a “hello” could be encrypted as “uwsg7ite46erghkjhbklh#45424&*^%$$”. Unless you know the decryption algorithm, you cannot read it no matter how hard you try, provided that you aren’t Albert Einstein or someone with 160+ IQ.
2.) Use Private Networks and VPNs to Protect Web servers
You may have used VPN in the past, perhaps to access certain content on the website that your local laws prohibit.
Unlike open networks wherein all the activities are visible, private networks can neither be tracked nor accessed. This brings down the amount of risk on your network because people cannot see you anymore. It is like existing on the internet but without so much as a footprint.

Private networks use a private (opposite of Open) IP to establish isolated communication channels between servers. This allows servers to exchange information through the same channel without exposure of data packet to the public.
When you want to connect to a web server using private IP, a connection needs to be established with the server. It is only after this connection has been established that you can exchange confidential info.
Note that all the activities from your IP are visible until a successful connection has been established.
3.) Make Stringent Password Rules
We all know how to set passwords – keep a minimum of 8 characters, use caps, special characters, and numbers while keeping it as indiscriminate as possible.
You can set your own password rule that must be followed by all users on the server. You can change the minimum number of characters required to 10 (possibly) and combine it with more stringent rules to make your passwords unhackable.
It will help you if you have a lockout policy. Logout users that have had inactivity on their terminals for a certain time. Deploy strong encryption – reverse encryption is like sitting duck to attacks.
Default passwords should be disallowed; make it mandatory to setup passwords on each computer.
4.) Set Password Expiration Policy
Users do not always change passwords until it becomes absolutely necessary. Setup password expiration time and prompt users to change the password a week before the expiry. Depending upon the level of security required, the passwords could last anywhere between a week to one month.
We have seen people change passwords every alternate day but the same is not absolutely necessary if the data that you store isn’t crucial enough.
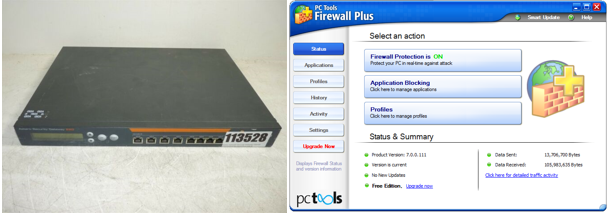
5.) Set Up and Maintain a Firewall
The firewall helps you to control and restrict access to the system. It does so by monitoring traffic incoming and outgoing from the system. If any activity appears as suspicious, the firewall will block access and the connection will be terminated then and there.
The CSF and Firewall are essential in creating stringent security rules to allow and disallow certain activities on the network.
It only allows specific connections while locking down all the unnecessary access to bogus services.
You can setup both hardware and software-enabled firewall.
Secure your server by controlling and restricting access to your system.
Using CSF (ConfigServer and Firewall) is essential in tightening up security on your network. It allows only specific vital connections, locking down access to other services.
Set up a firewall during the initial web server setup or when you make changes to the services offered by the server. Note that the firewall allows a number of services by default, so check your firewall settings before you connect your server to the network.
6.) User private servers and services
You are on a shared hosting server (let’s assume for a moment). The activities on your server are visible to your host and possibly to other websites.
Shared servers offer a single space with no fixed partition and the websites are sort of crammed in that space. However, shared servers from some quality hosts are comparable to VPS but this is not always the case.

If security and privacy are paramount for your organization, you should always host a private server – preferably dedicated hosting. If you can collocate your server to the nearest data centre, do that. Colocation services can save a lot of bucks in the long run and are the most secure services you will find on a dedicated server.
7.) Remove or Turn Off All Unnecessary Services
If there are ten doors that lead to an apartment, you need to secure all ten. If there are less, you need to secure fewer doors. The idea is, lesser the network vectors, more you can focus on security.
You can remove or turn off all the unnecessary services on your server and thereby reduce the chances of an attack because you have fewer ports to secure.
Most Linux distributions look for incoming connections on the internet, so you should configure Firewall in such a way that it allows only specific ports and denies unnecessary communications right when prompted.
Check whether your software is dependent upon other key system components. You need to safeguard those components too. When under an attack, the vulnerabilities will invade these components first and user accounts later.
8.) Manage Users
Each and every server has a root user with unrestricted control of the system. Root users are the powerhouses of your server. They keep the entire network running and manage all the complexities associated with a server.
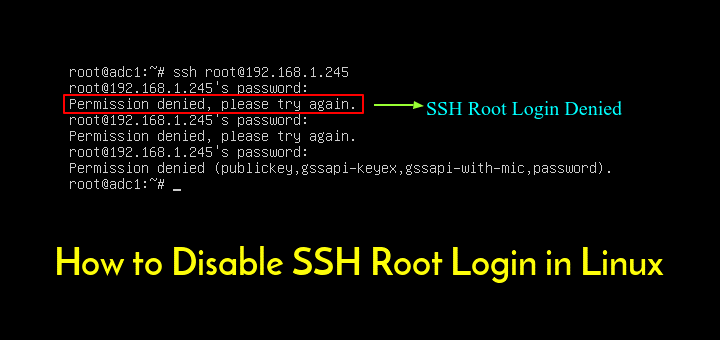
Because of the amount of power, you need to be extremely careful that root login does not land into the wrong hands. This could be devastating for your server. It is a widespread practice to disable the root login and to unable only when prompted.
To ensure that only the authorized person logs in, create a limited user account. This account does not have the same authority as root users but has enough access to work everything out.