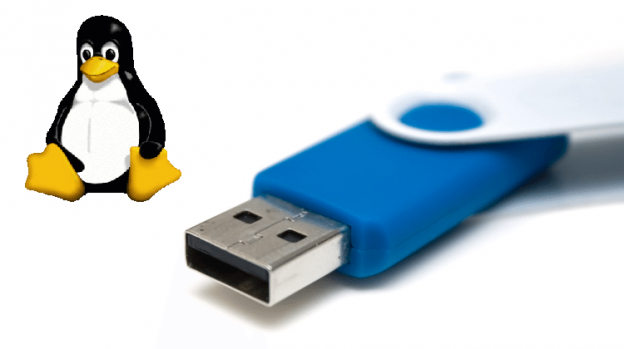
If you want to install Linux, you need to create an installer. This will install Linux on your PC. You can use it to test out Linux on your computer and replace Windows when you’re ready.
DVD or USB?
Installation media comes in two formats: DVD or USB flash drive. In Windows, there’s no real difference but we enjoy having both at hand.
How to Create Installation DVD
Step1: Start Windows normally and check whether you are using a 32-bit or a 64-bit PC. Open settings and click system>>about. Scroll down to the bit where it says “System Type” and check whether it says “64-bit operating system” or “32-bit operating system”.
Step 2: Open your web browser and download the version of Linux you want to install. You can find Ubuntu at www.release.ubuntu.com/16.10/ and Linux mint at www.linuxmint.com/download.php. Make sure you download the flavor that matches your system. If you’re not sure which one to choose, get Ubuntu.
Step 3: You can download the Linux installation as an ISO file. The different versions of Linux are often updated regularly and it’s often difficult to ascertain what the final release looks like, and what it contains. In this guide, we are using Ubuntu 16.10 and Linux Mint 18.1; both of these are regarded as the ideal, stable version.
Step 4: Insert a recordable DVD into the drive of your computer. It doesn’t matter if it’s DVD+RW or DVD-RW but it has to be a record-able DVD, not a CD. Ignore any alert windows asking you what you want to do with the drive.
Step 5: Open the Download folder and locate the Linux ISO file. Right-click on the file and choose Burn Disc image. The windows disc image burner appears. Ensure that the disc burner window displays your DVD RW drive. Select the option marked ‘verify disc after burning’ and click burn.
Step 6: When the disc has finished burning, open a file explorer windows and click on this PC. Check that DVD RW drive is displaying the newly transferred content. Right-click the DVD icon and choose to pen to view the files.
Read More at : Top 9 Benefits of a Linux Dedicated Server for Your Business
How to Create a USB Installation Drive
These days it’s often more practical to create installation media with a USB flash stick. You need at least 2GB of free space on the USB Drive and be sure you check it first because the data on USB will be wiped out during the process.
Step 1: The process is the same whichever version of Linux you are installing. Start by downloading a tool called Universal USB Installer from Pendrivelinux.com. Once the program is installed, open it and insert your flash drive.
Step 2: Use the ‘Select a Linux Distribution’ drop-down menu to choose the version of Linux you are installing. Typically, this will be Ubuntu or Linux mint, although plenty of other options are available.
Step 3: Click Browser and locate the ISO file you have downloaded earlier. Unless you move it, the file will be in your ‘Downloads’ folder. Choose the file and click open. Now click the ‘Select Your USB Flash Drive’ and choose the drive later. Choose the We will format option of it appears, then click create.
Step 4: Click yes to confirm that you will erase the drive. Universal USB installer will now format the USB drive and create an installation media drive from the ISO download file. The process can take a while but when it’s finished you can use it to install Linux.
This guide is brought to you by best front and rear dash cam experts at bestfrontandreardashcams. Dash cams are used for safety and can be very useful when you claim your insurance.


 Live Chat
I’m really inspired with your writing skills as well as with the format for your weblog. Is that this a paid theme or did you modify it yourself?
Anyway stay up the nice quality writing, it’s rare to see a great blog like this one today..
It’s great that you are getting ideas from this article as well as from our discussion made at this time.